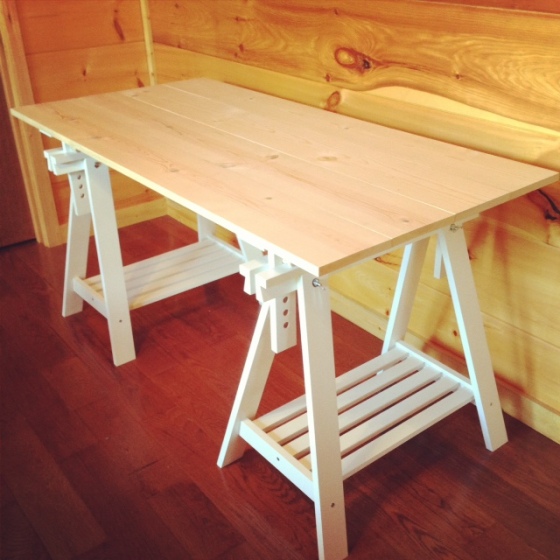
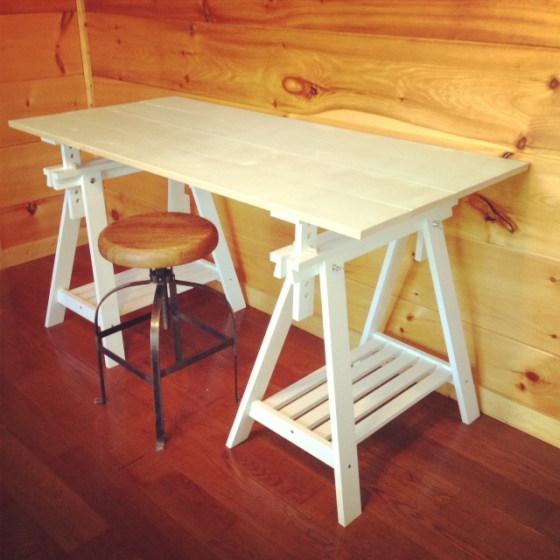
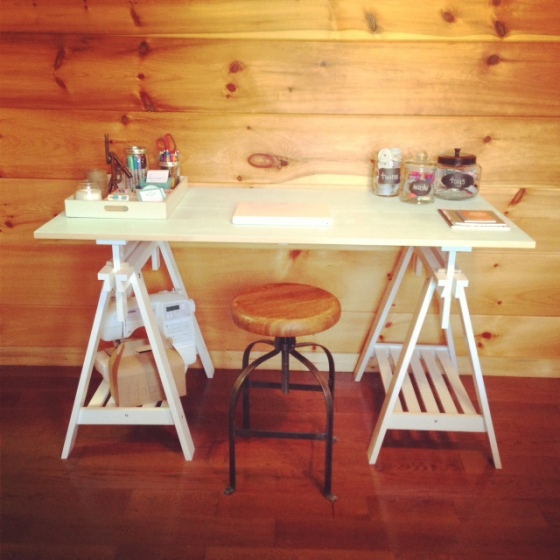
you know how you get to make all of those aaaaaamazing pins you find and save to your “susie homemaker” board a reality?! yeah, me neither. i searched pinterest for decades {an amount of time that i am not willing to admit} looking for the perfect sawhorse desk. everything i found either cost too much f’ing money or didn’t have a link that actually worked…don’t you hate when that happens?!? i HAD to have a desk and i knew just what i wanted it to look like. this is what i came up with.
what you need:
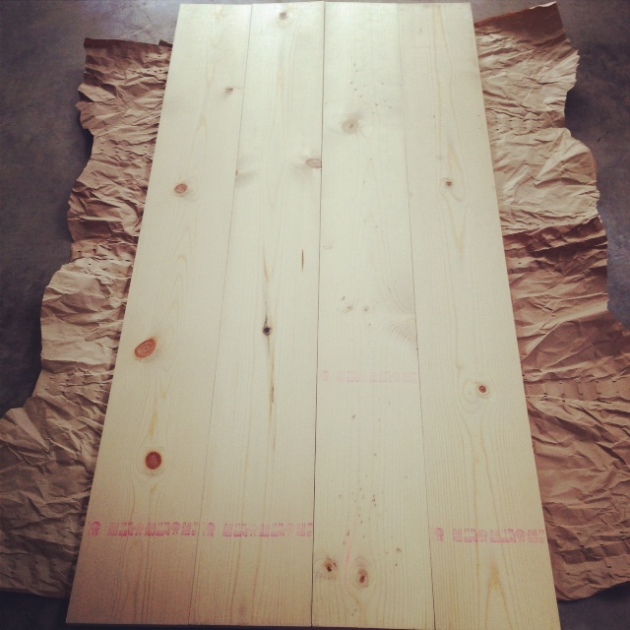
-four 1x8x6 boards
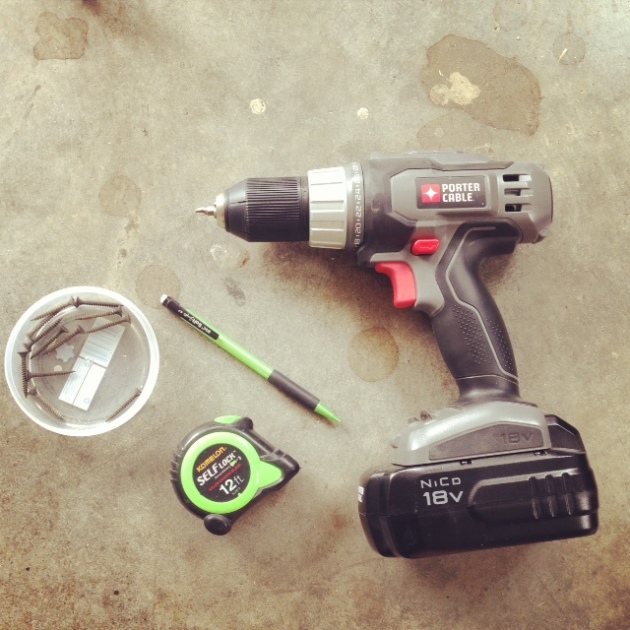
-about twenty-five 1 1/4 inch screws
-drill
–legs
-paint
-measuring tape
-saw
-pencil
-sanding blocks
{one.}
i ordered these legs from ikea. i loved loved loved the legs, and was set on building my own desktop. the legs do require some assembly, but it was super easy!
{two.}
i bought four 1x8x6 boards from lowe’s for about $7.50 each. i also bought paint and screws that were about 1 1/4 inch long. i had everything else that i needed at home.
{three.}
i cut each of the boards to be 5 feet long. i sanded the edges and laid them side-by-side on the ground. i chose the sides that looked the best and laid them facedown for the top.
{four.}
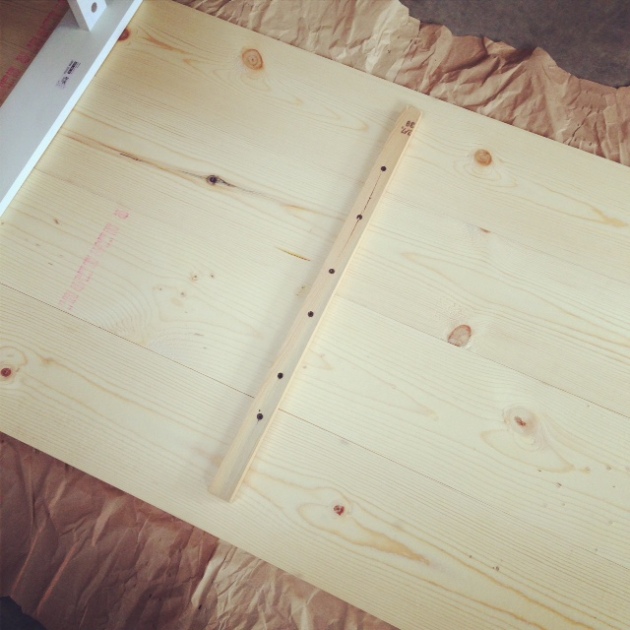
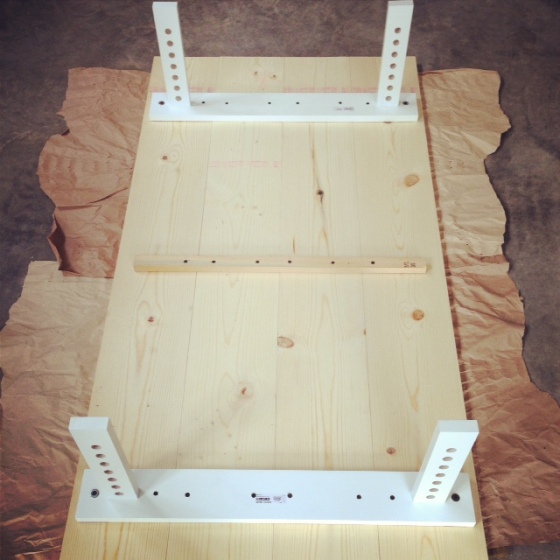
i used a scrap piece of wood to screw into the center to tie the boards together. i roughly measured to the center and positioned it to be about an inch or two in so it wouldn’t be visible once the desk was turned upright.
{five.}
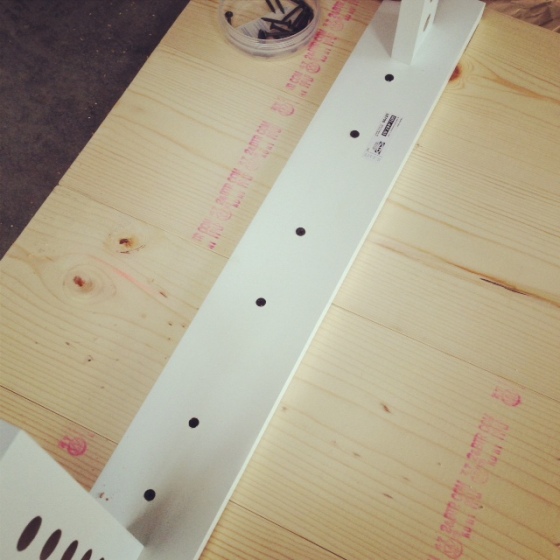
i turned the upper piece of the legs that is adjustable upside down onto the underside of the desktop. i measured 9 inches from the end of the desktop to the center of the top piece of the leg to determine where the legs would be positioned. i pre-drilled the holes so the wood would not split.
{six.}
i used at least one screw in each board. be careful not to put them in too tightly, or the wood will split. yikes!
{seven.}
repeat for the other leg as well, measuring in 9 inches from the other end of the desktop.
{eight.}
you are now able to turn your desktop right-side-up and position onto the legs. you can determine the height you want your desk to be now. i raised mine to the 3rd hole from the top, so it is a little bit shorter than counter height.
{nine.}
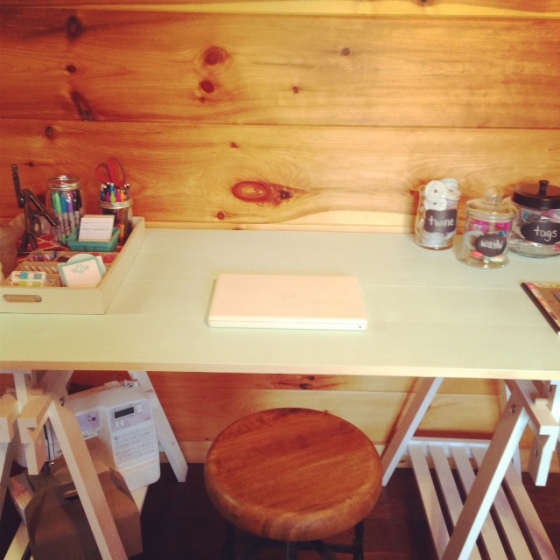
i painted just the top of the desktop and left the edges and underside unpainted just because i liked that look. i used valspar paint in “stillness” that i bought a sample of from lowe’s and did 2 coats. i wanted a very faint robin’s egg blue color, but ultimately it still looked white even after 2 coats. i went back to lowe’s and had them mix up a sample of the same color, but asked if they could make it a shade or two darker. after applying 2 more coats of that paint, it was perfect! it still looks white in pictures, but it is beautiful in person!
{ten.}
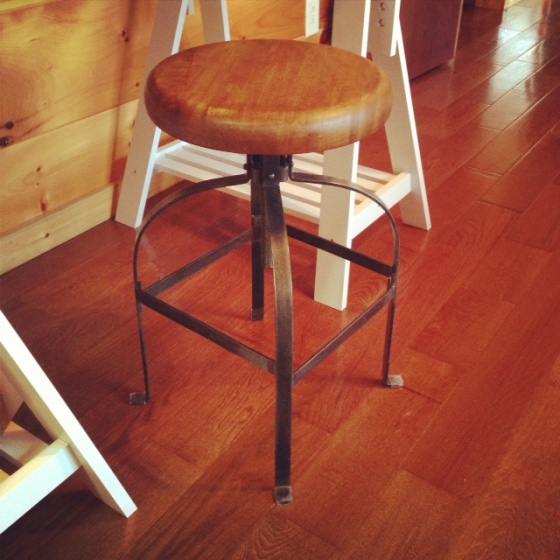
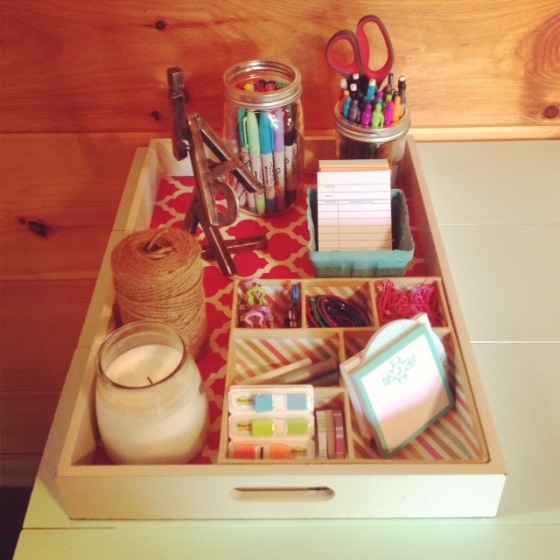
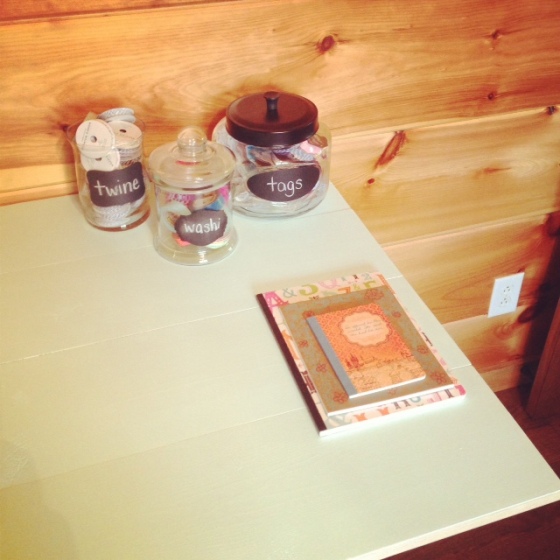
i bought a bomb-ass stool that will adjust to whatever height i want the desk to be. then, i went to work on organizing and accessorizing…my favorite part!
everything has it’s place, just the way i like it! i can lower the desktop to create the perfect station to do paperwork peruse pinterest, or i can adjust it to be taller and serve as a great craft table. now, if you’ll excuse me…i’m going to sit back, admire its awesomeness, and delete the 6,900 pins i have of desks.
-jessi
